DIY framed plaster wall art
Let’s face it: large scale artwork is expensive! I’ve been obsessing over minimal, plaster/textured wall art from stores like Crate&Barrel, CB2 and West Elm for months and months, but was absolutely not willing to pay upwards of $1500 for one. I had experimented with small DIY versions using drywall compound in the past and decided the time had come to level up and try this hack on a large scale.

Fate stepped in when on a Homesense trip I spotted a HUGE canvas for only $25 (say whaaaat?!) and I knew this was it. Because I’m so thrilled with the end result (definitely cracked my top 3 fave DIYs I’ve ever done), I thought I’d share a step-by-step of how it all came together (including my most proud moment: the perfect frame) in case you felt so inspired as to try it for yourself!
Canvas suPplies
To create the canvas art I used:
150x100cm canvas (Homesense): $25
dry wall patch compound (Lowe’s): $10
paint (I had these two left over from other projects): free

The canvas came pre-primed so I started by painting a base coat of crisp white paint. Then I layered on the dry wall compound using the trowel in haphazard globs and swipes (the less perfect the better IMO). To give it extra depth I did two layers of the dry wall compound.

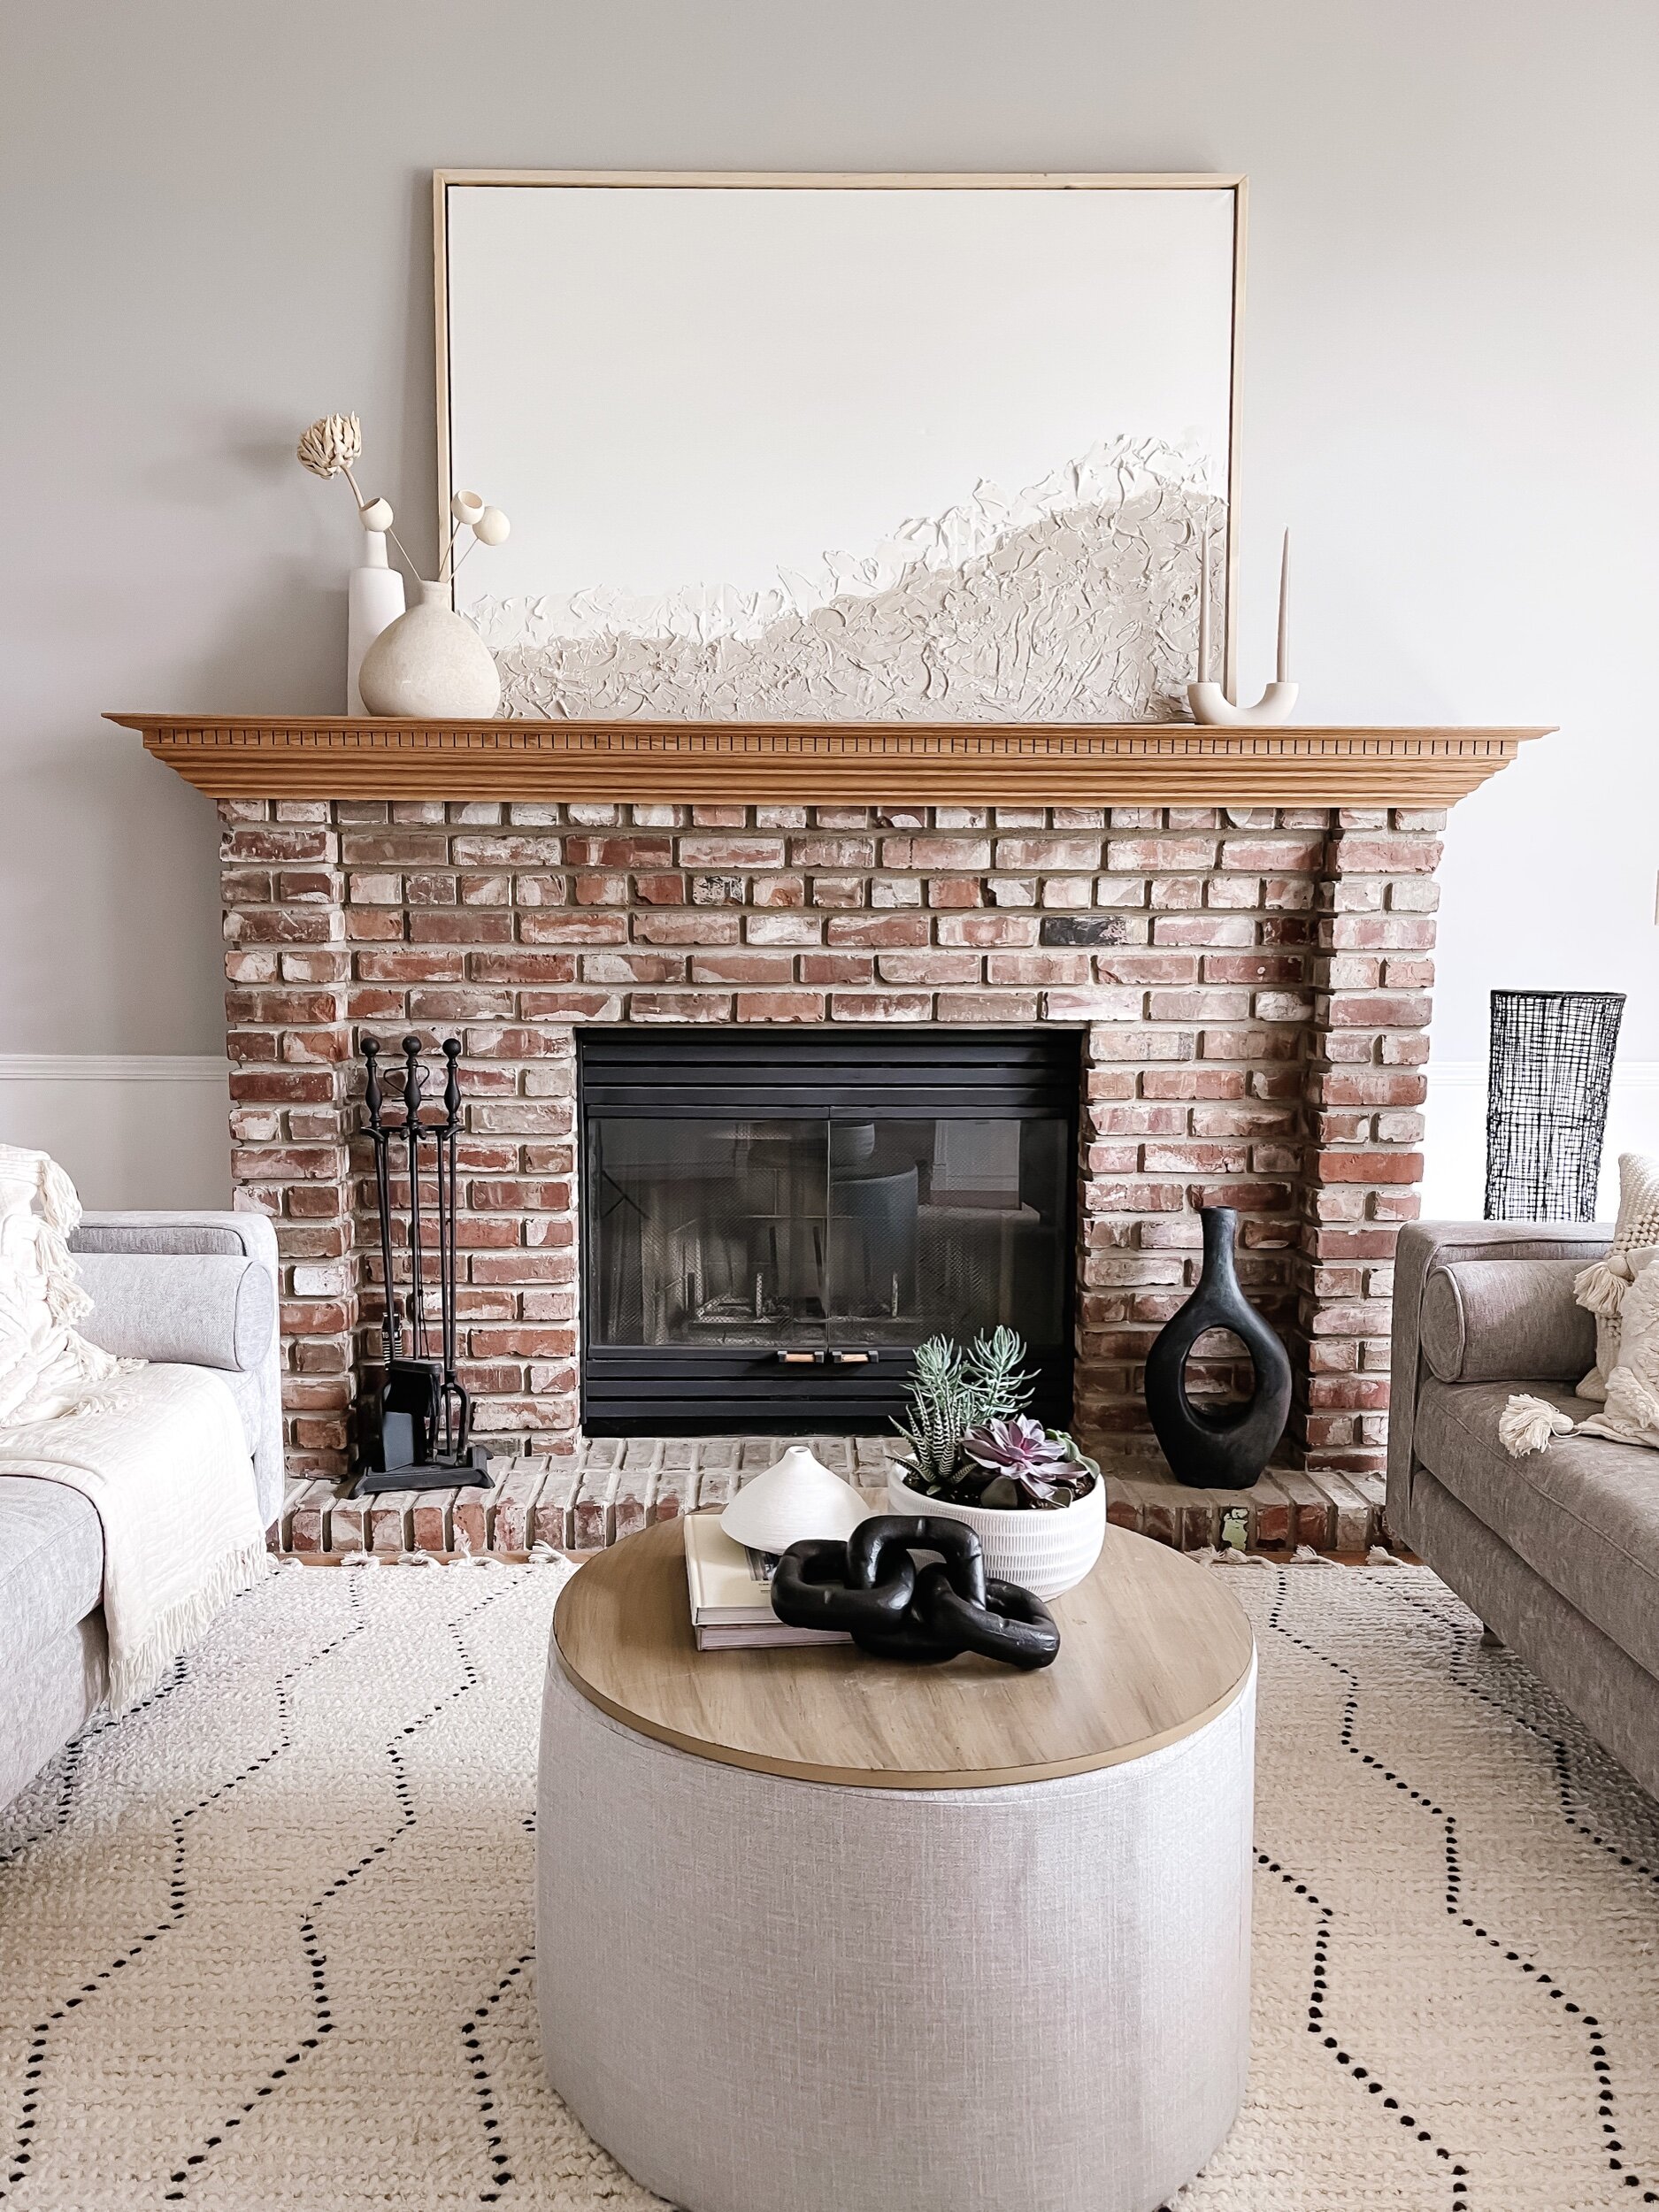
Once the compound was thoroughly dry (I gave it 24 hours), I added my second paint colour. I only painted 3/4 of the way up the compound to create even more depth and just left the top 1/4 unpainted so it had a bit of contrast against the rest of the white canvas. I gave the paint another day to dry before I tackled the most intimidating part: the frame (cue ominous music).

Frame supplies
To build a frame for my canvas I used:
four 6’ 1x2”s (I used pine because of the low price point but you could use another wood): $30
corner reinforcers x 4: $5
mitre box & handsaw
wood glue
staple gun
wood brackets (came with the canvas)
This part made me the most nervous because of the precise cuts required (math and I had a falling out years ago that we haven’t recovered from). But I really wanted to get out of my comfort zone so I did a lot of googling and found an equation that seemed straight forward enough for me to follow. Here’s how I calculated my lengths/cuts:
Take the length of the canvas (in inches mine measured 59” x 39.25”)
Add the widths of each piece of wood (so 2” to the length and width).
I wanted a 1/8” gap all the way around my frame so I accounted for that on each side by adding another 1/4” to the length and the width.
This put my measurements at 61.25” x 41.5” (this is the longest point of each piece).


Once I felt comfortable with my measurements I marked my wood and used a mitre box and handsaw to make 45 degree cuts (inward from the mark) to each piece. From there assembly was easy. I sanded each piece to smooth the cuts and used some wood glue and a staple gun (at the back) to fasten each corner. Once the glue was dry I screwed in the corner reinforcers to make sure it was nice and sturdy and glued the wood brackets that came with my canvas to the corners, I used these to staple my canvas in place to create the floating effect with the 1/8” gap. Low and behold: it worked out perfectly.
And BOOM! I had an amazing (and huge) piece of one-of-a-kind artwork that I’m so proud of! I may or may not be planning to repeat this project one or two more times.

